A step by step guide to raising day old chicks
The five basic things every chick needs to survive.
Libby Williams, 2021
Brooder Box
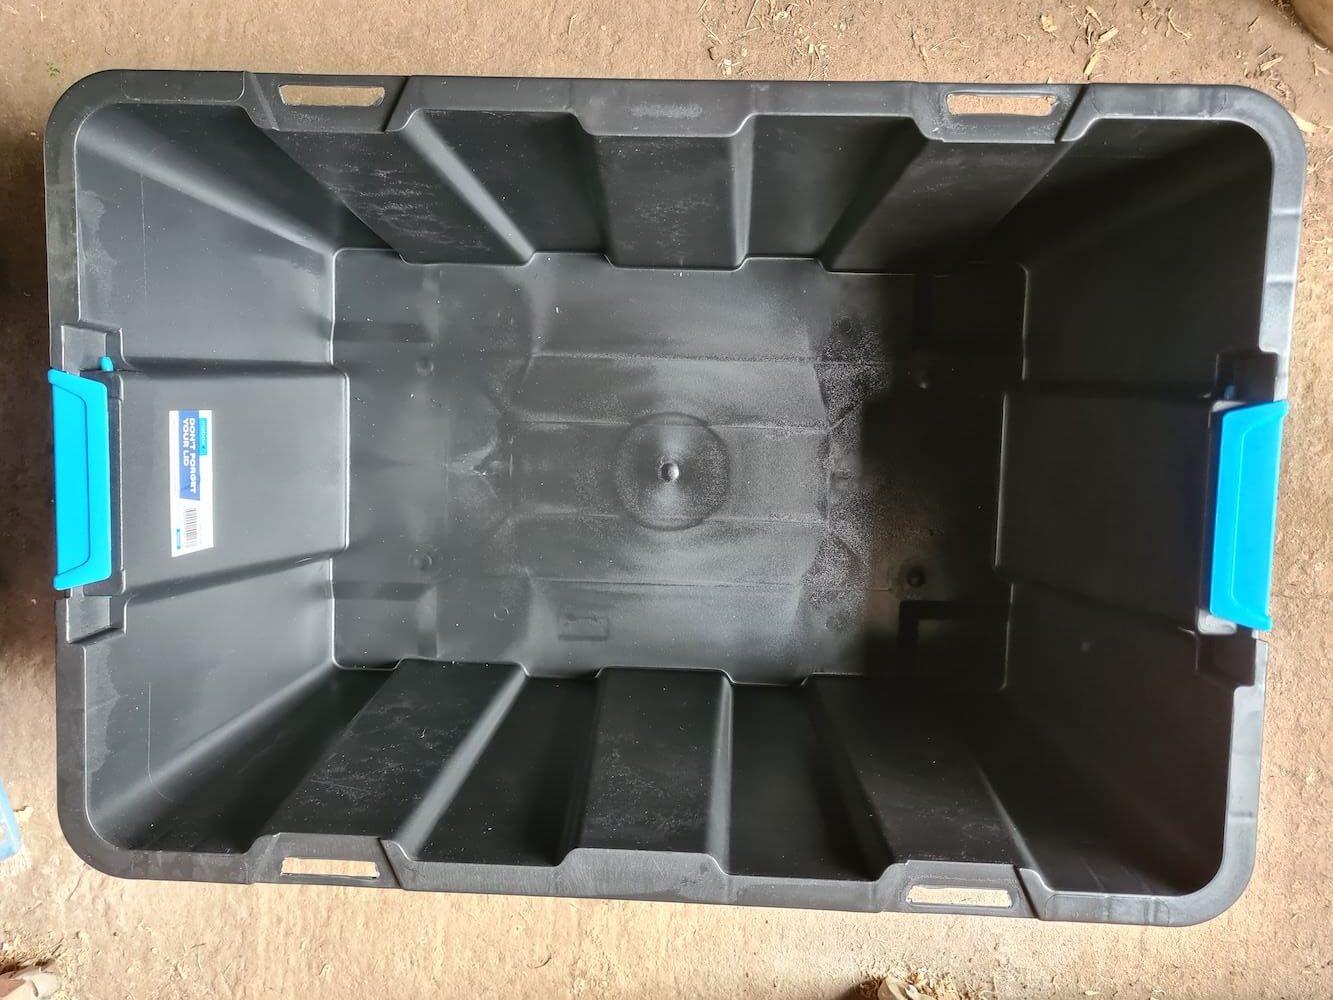
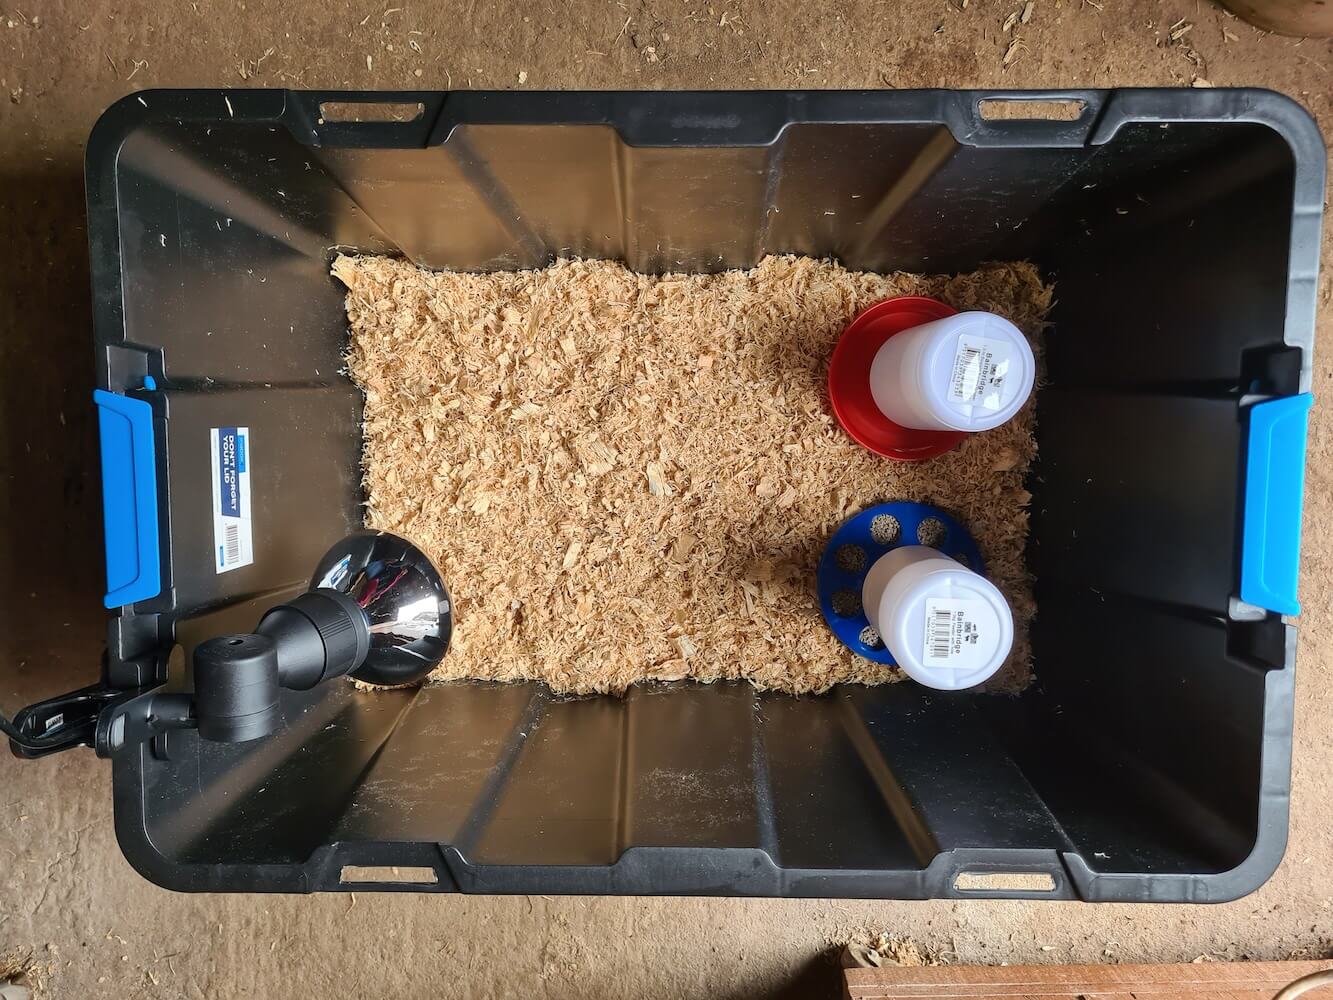
For our brooders we like to use plastic storage containers, like this one, due to their ease of cleaning and high sides which help to keep chicks from jumping out. You could use a timber box if you prefer something more natural but avoid using cardboard boxes which perish easily.
Step 1. Place the box of your choice in a safe place out of the weather.
Heat
Day old chicks need a brooder temperature of 32-35 degrees. Why 32-35 degrees? Chicks hatch at a temperature between 37.3 & 37.5 degrees which is the body temperature of a hen for hatching. For brooding, the temperature we are replicating is what it would be under her wings, this is where chicks like to hide.
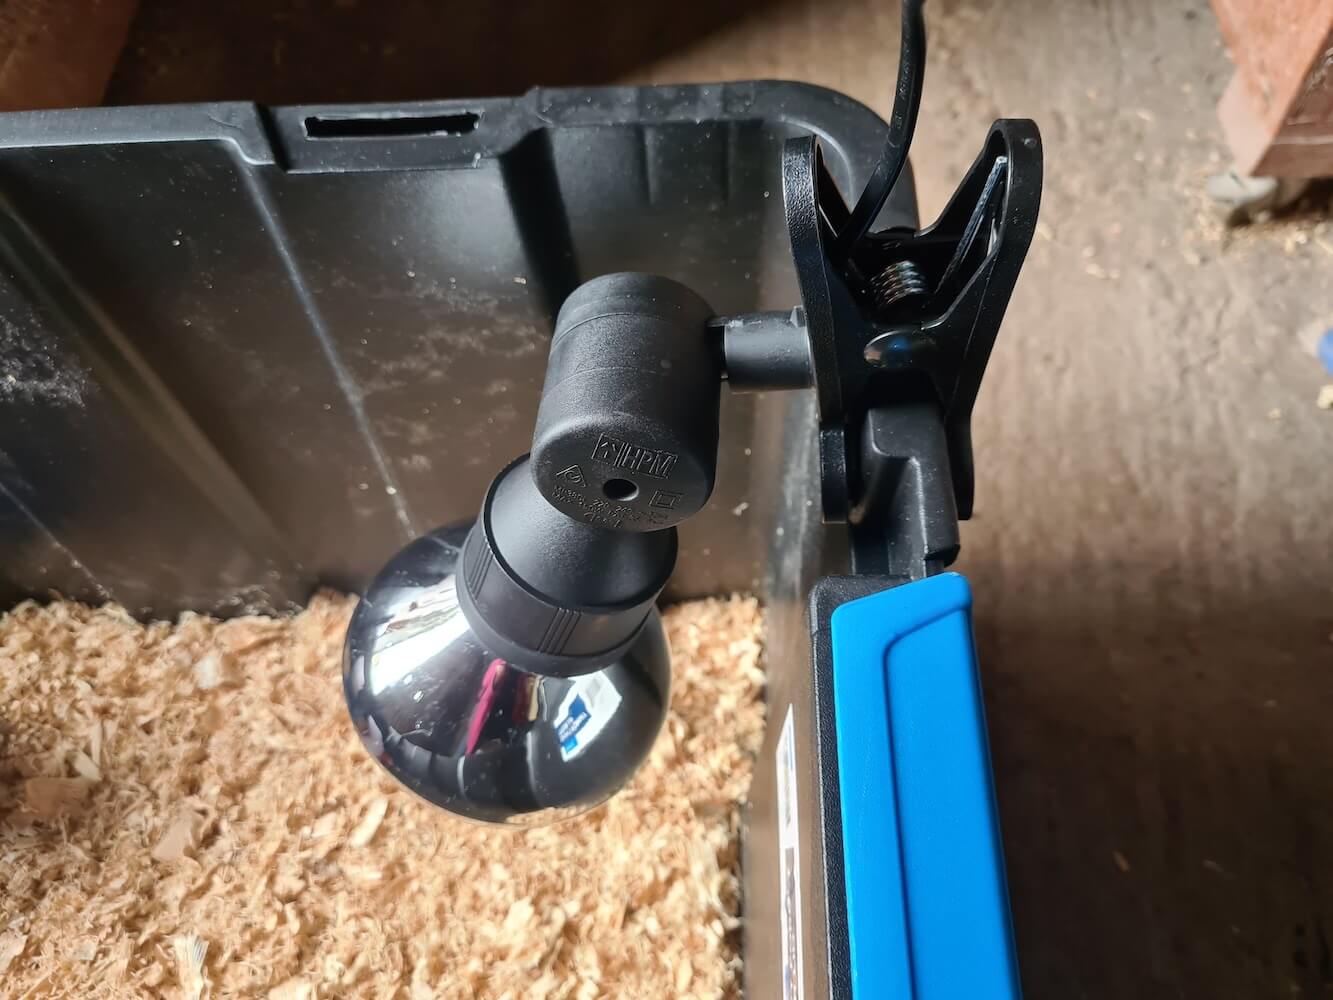
Chicks can not regulate their own body temperature until they are fully feathered (at around 6-8 weeks of age) so we need to replicate the same temperature of the hen. To do this we use a 150 watt light bulb or an electric hen brooder plate.
Make sure to keep the heat source at one end of the brooding box, this allows the chicks to move away from the heat and back again as they get too hot or too cold.
Step 2. Take your light or brooder plate and place it at one end of the box. If using a light, angle it so it is pointing down towards the ground and make sure the bulb does not touch the box, or else you risk melting the box. If using a brooder plate, place it in such a way so the chicks can access all sides.
Bedding
Choose bedding that is non slip and non toxic for your new little friends. Here are some bedding options I use myself and recommend:
- Puppy pads
- Wood shavings
- Sugar cane mulch
- Hemp
Avoid using newspaper or cardboard for bedding as it is slippery and causes splayed legs.
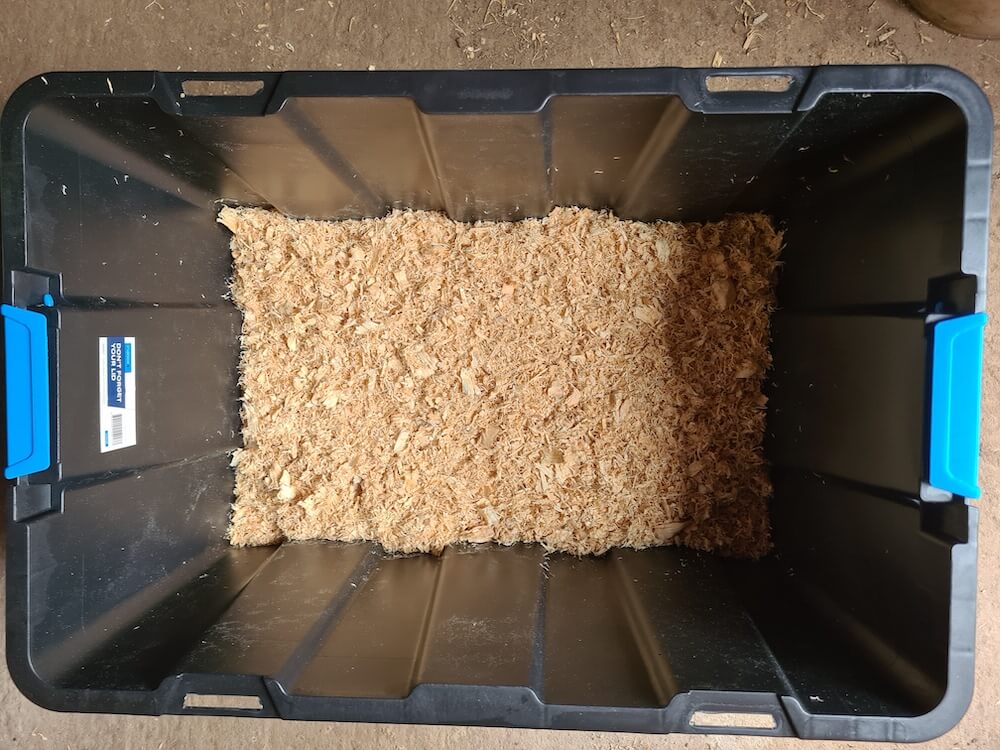
Step 3. Place a thin layer of bedding over the floor of your box, just enough to cover it. Anything more is a waste as you will be changing the bedding regularly (2 x a week minimum). Pat the bedding down so it is nice and firm.
Water
Water needs to be fresh and clean, so be sure to keep it free from droppings or bedding. It also needs to be kept cool as chicks don’t like warm water and often will not drink it if it’s warm.
It’s really important to use a waterer made for chicks to avoid any drownings.
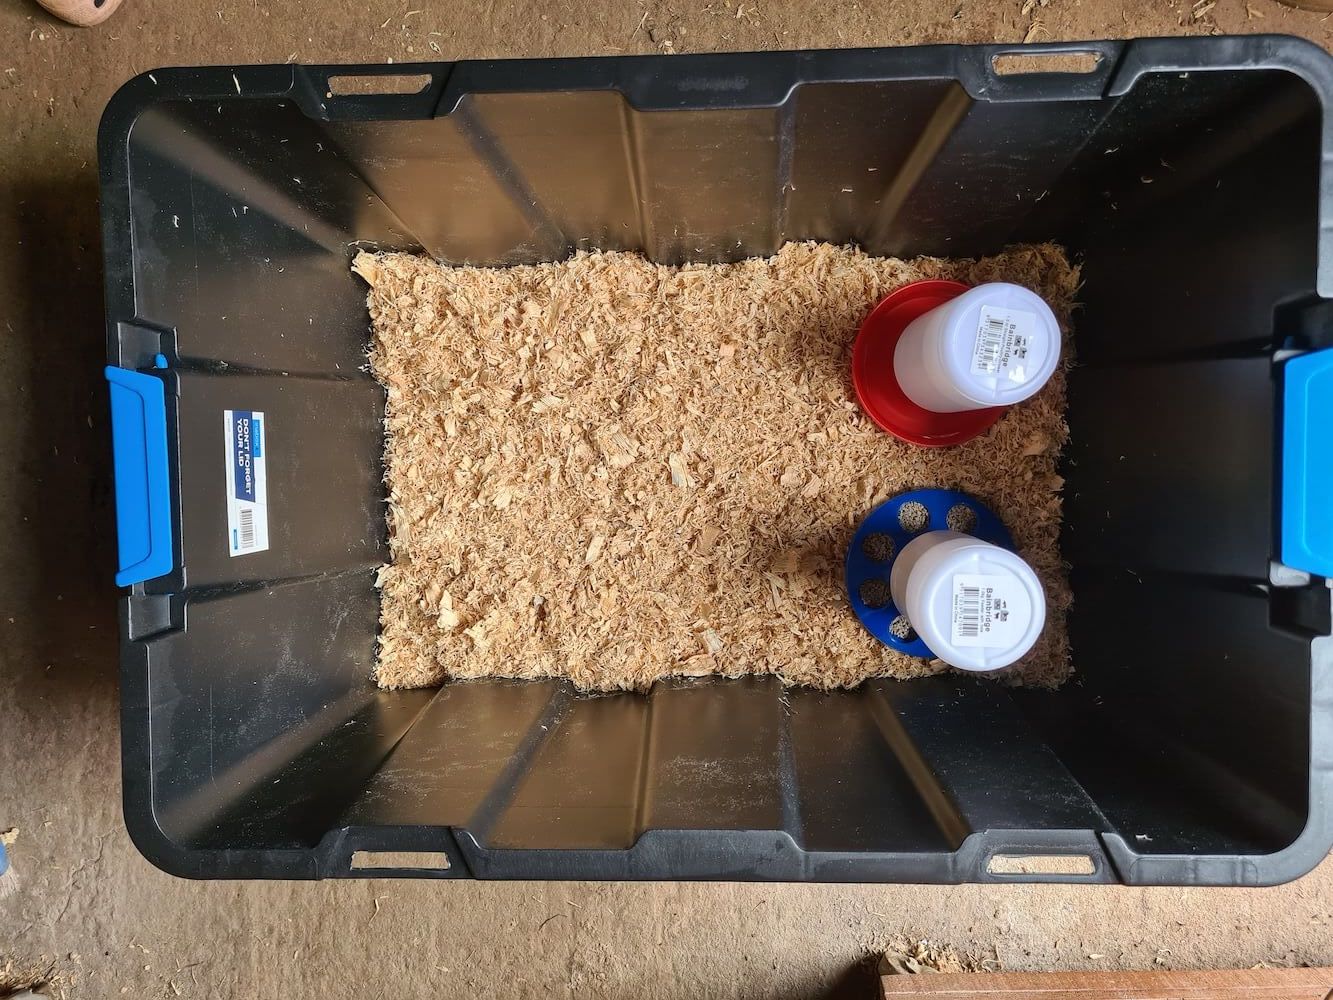
Step 4. Place the water container at the opposite end of the brooder box away from the heat making sure there is space around both containers for chicks to walk freely.
Food
Chicks need to be fed a good starter crumble, we suggest The Poodle and The Hen’s starter/grower, which is high in protein and contains added vitamins and minerals that support early growth. We also recommend feeding via an automatic chick feed container.
Step 5. Place the feeder on the opposite end of the brooder box, away from the heat and making sure there is space around both containers for chicks to walk freely.
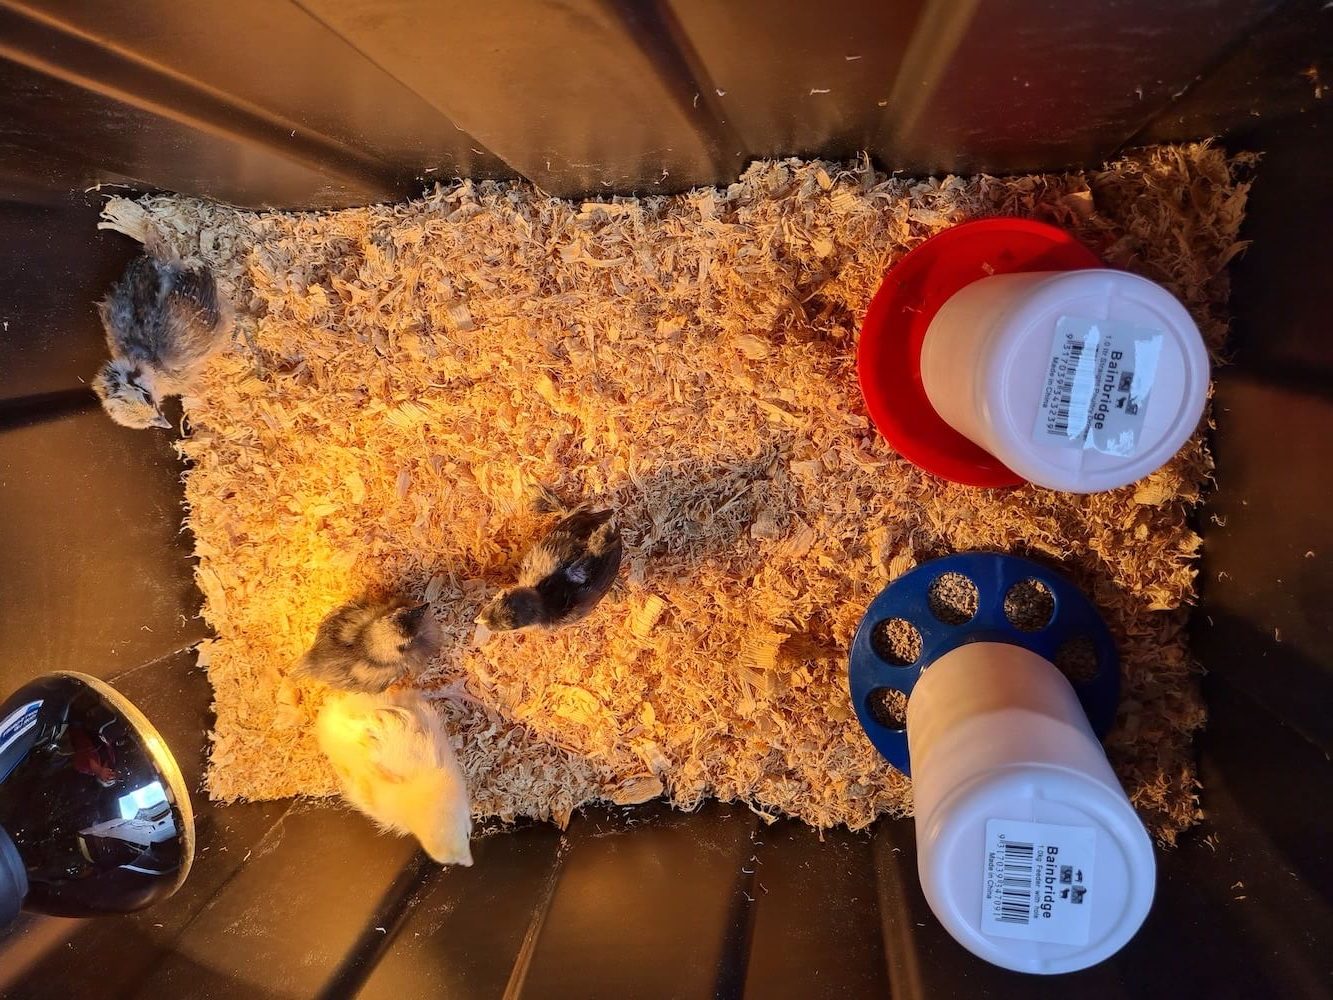
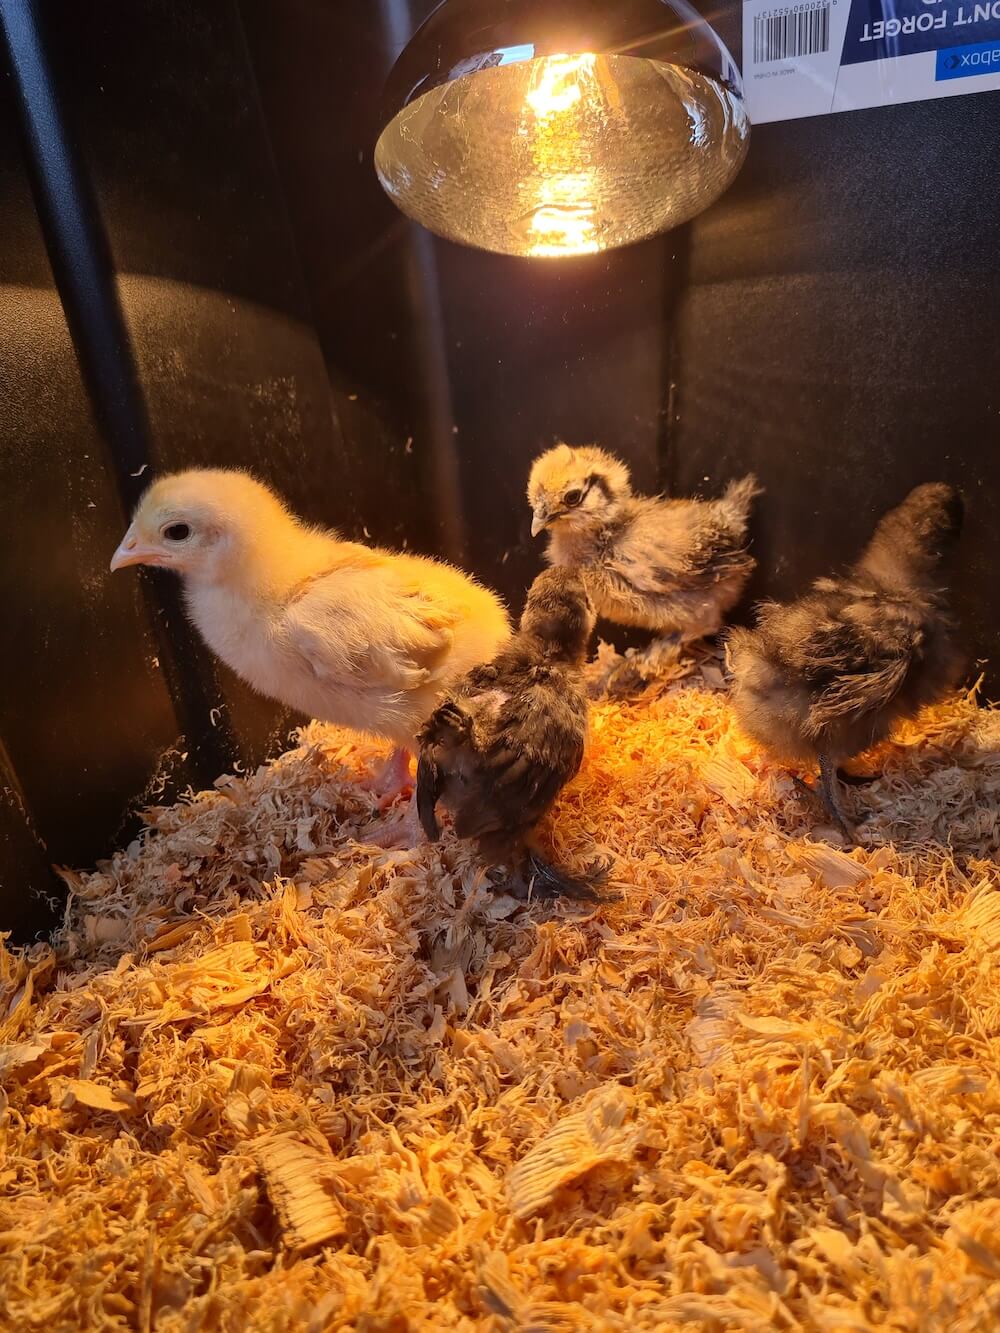
Time to add your chicks!
Add your favourite selection of sexed chicks and watch them make themselves at home. Make sure you give them lots of cuddles and talk to them, chicks love being part of the family.
As chicks grow they need less heat so after 2-4 weeks change the globe to a 120 watt or raise the brooder plate by 1 or 2 clicks depending on how much they have grown. At 5-6 weeks you can go down to a 75 watt globe and if the temperature is warm enough in the day time only, you can start turning off the light or raise the brooder plate another 1-2 clicks.
Remember to turn your light back on at night until you are at the 7-8 week old mark.
If by 8 weeks your chicks are fully feathered you can now start to transition them out to your coop. Do this by turning off the light in the day and night for at least 2-3 days whilst they are still in their brooder. Make sure the roosting area of the coop has nice warm bedding for them and that you are able to lock them into the roosting area at night so they are protected from the elements.
Do not free range your little friends just yet, let them get used to their new home. After a week you can let them out for some grass time but remember to put them to bed just before the sun sets and lock them up safe and sound.
Visit Our Farm Or Contact Us
Contact
Our farm by appointment only.
Please contact us on 0411 266 262, by messenger on Facebook or email us at info@libbysheritagechickens.com.au
Opening Hours - APPOINTMENT ONLY
Mondays – CLOSED (sexing day)
Tues – Fri- 9am-4pm
Saturdays – CLOSED
Sundays 9am-4pm
Address
120 Rockford Rd, Tahmoor NSW 2573
Get In Touch
When messages and emails are sent on our closed days please know that we will answer/reply the next business day.

